You may want to take a screenshot of these instructions since your phone will not be connected to the internet during this step.
It is a 5 step process, summary is below, followed by details:
- Physical Installation (plugging it in)
- Connect to the sprinkler timer’s WiFi Network (OS_…)
- Open a web browser and go to URL: 192.168.4.1
- Select your home router WiFi network and enter the password.
- Reconnect your phone to your home WiFi network
- Download and open the OpenSprinkler phone app. Details follow.
- Video Instructions


Physical Installation
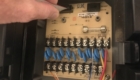
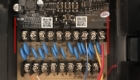
- Unplug the old timer’s flat gray ribbon cable from the back terminal board.
- Install the RD-Wireless where the ribbon cable was previously.
- Make sure the sides of the RD-Wireless are lined up with the sides of the back terminal board.
- The right side of the board will rest on the Active/Bypass sensor switch and be a little higher. You can trim the nub down on the switch with a pair of wire cutters if you’re concerned, but it should not be necessary.
- Optional: for a little better wifi performance, remove the top right metal screw that holds the back terminal board into the housing. This keeps metal away from the wifi antenna.
Connect your RD-Wireless device to your home WiFi network
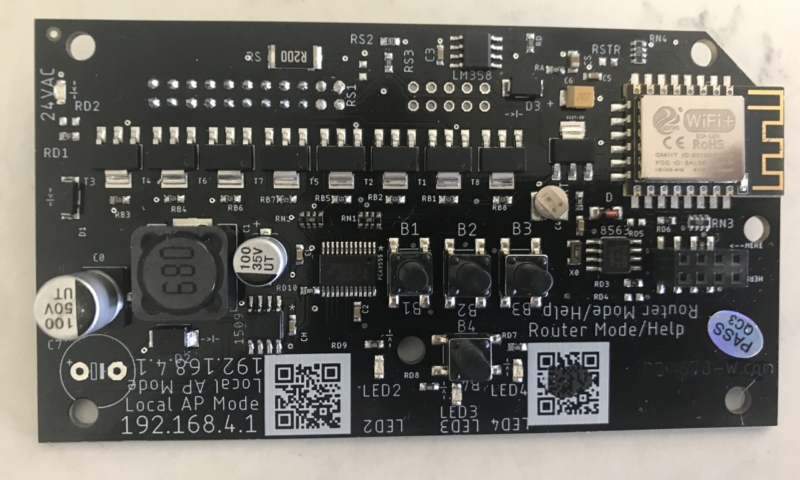
- Install and turn on the power; the LEDs will flash and the 24VAC LED should be green. If not, remove it and slide it left or right, and re-insert it until you see the lights flash. The top board should be lined up to the side edges of the bottom board.
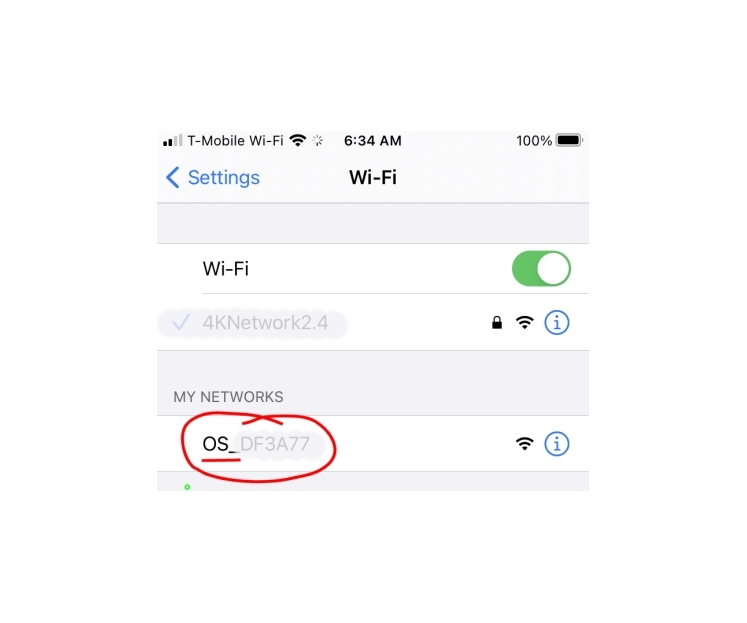
- Connect your smartphone to the local WiFi network starting with OS_<7 characters…>
- (E.g., In the list of available networks, you will see the timer’s WiFi network named something like OS_123ABC but the numbers/letters will be different.)
- (Note: Continue even if you see a warning about an insecure connection. You’re just temporarily connecting directly to the timer using a non-encrypted (unsecured) connection)
- Open a web browser (Chrome, Safari, etc.) and enter the address/URL: 192.168.4.1
- Select your Home WiFi router from the list and enter the passcode
- Press Submit to connect the timer to your home WiFi network. After it says Connecting… go to the next step; note that the web browser may quit responding.
- Within 30 seconds, LED4 on the timer should turn on indicating that it is connected to the home wifi network
- In your phone settings, re-connect to your home WiFi network (The OS_…) network will no longer appear.
RD-Wireless is now connected to your home network
Install the phone App and connect
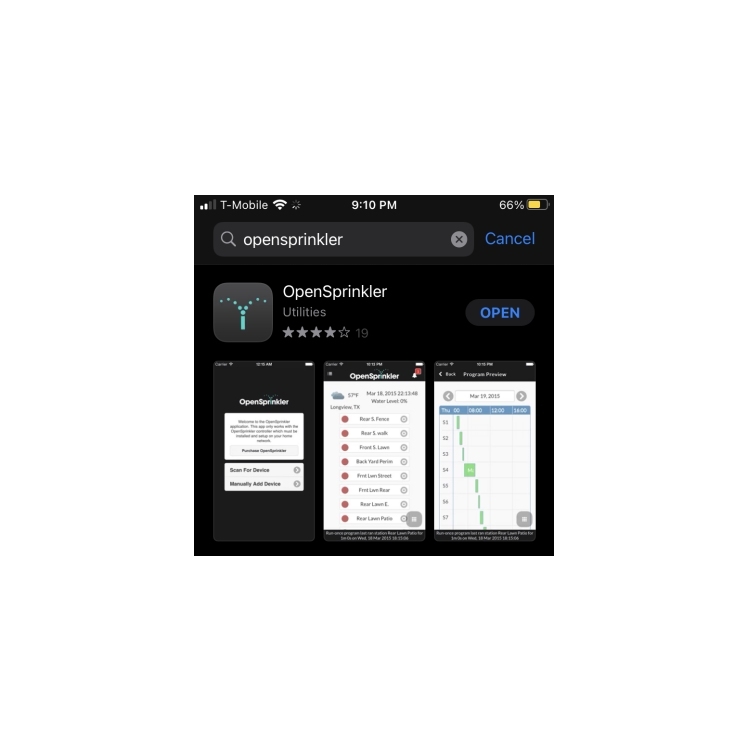
- Using your phone: Go to your phone App Store, or Google Play etc. Download the OpenSprinkler app for your phone
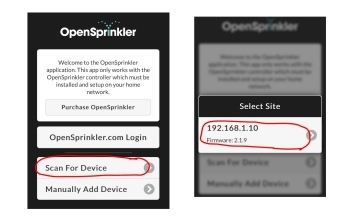
- Open the app and choose Scan for Device
- It will list a device number; select it
- The default password is ‘opendoor‘. You can change it later in the app if you want to.
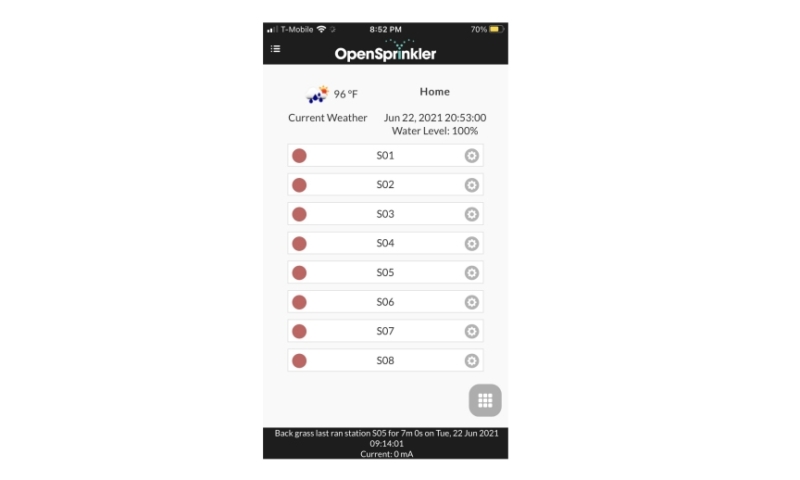
- Follow the app menus to use and program your timer
That’s it – you can now open the app on your phone at any time.
Video Instructions:
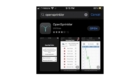
App configuration and setting the time and date
- You’ll do almost everything you need to do by selecting the lower right icon. This is where you can set the time, programs, etc. The items from the top left menu are more intended for other open sprinkler-based designs and are typically not used.

Time and Date
The time and date are automatically determined by using an internet-based time server. However, your device needs to know your location to adjust the timezone. This step will open a browser window with the same-looking interface as the phone app.
- To set the location, click this LINK
- Choose Scan for Device -> select your device -> enter the password (‘opendoor’ is the default unless you changed it).
Note: If you see a link about it not being a secure connection, continue anyway. Note that the warning just means that the data being exchanged will not be encrypted. Since the data is just map information, this is not a concern. If you don’t want to do it this way, you can manually set the time by the advanced options and uncheck the NTP Sync box. This will allow you to manually set the device time yourself from within the System menu.
Troubleshooting
- If the app doesn’t seem to connect to the timer; make sure LED4 is on. If not, restart the connection procedure.
- If your WiFi is not listed: Power the timer off, then back on and try again. If that doesn’t make it appear in the list, you can connect by manually typing in the WiFi SSID and password.
- If your wifi changed, you can press Button B4 to switch it back into local access mode
Warning about Remote Access not being supported: If you see a message about remote access not being enabled, just ignore it. If you need remote access connectivity, you’ll need to enable port forwarding in your router.
Cautionary Notes
- Never disconnect valve wires while the valves are on, nor connect a valve wire when the timer has it on. This could cause an electrical surge that could damage the timer.
Compliance
Model: RD-Wireless CON_ADDON (Remote control Device-Wireless connector add-on board)
Contains FCC ID: 2AL3B-EGP-F
This device complies with Part 15 of the FCC Rules. Operation is subject to the following two conditions:(1) this device may not cause harmful interference, and (2) this device must accept any interference received, including interference that may cause undesired operation.
Changes or modifications not expressly approved by the party responsible for compliance could void the user’s authority to operate the equipment.
This device shall only be used with an approved UL Class 2 24VAC transformer.